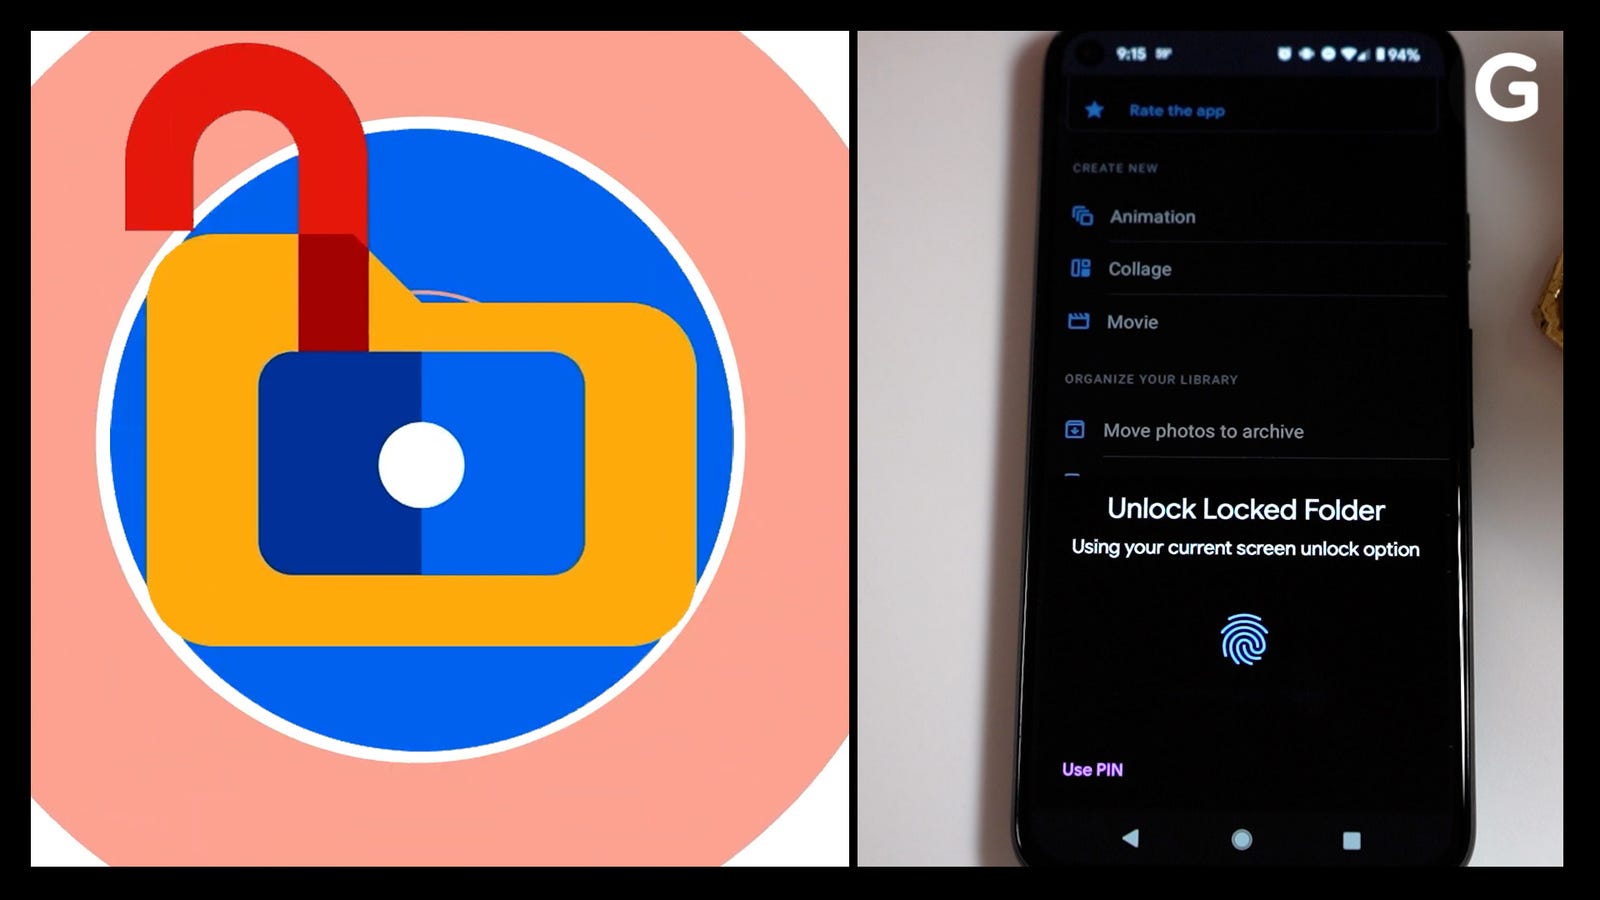
Google Photos now lets users hide sensitive photos of their phones behind the password. This is done via for the latest feature also called Locked Folder, which is currently exclusive just only to Pixel phones. Nevertheless, Google plans to bring the feature for all Android phones and even iOS devices later. Google Photos’ Locked Folder works by creating the separate folder for our sensitive pictures and hiding it behind our phone’s lock screen password, pin and pattern. You can also bypass by using biometric authentication such as your fingerprint.
Important:
Before beginning with the tutorial, it’s important to note that the experience is currently limited to Google Pixel 3 and later models. So, if you have eligible device, you can go ahead and follow the below steps to set up the Locked Folder feature on Google Photos to hide your pictures. Make sure that you have the new version of Google Photos installed on your phone.
Once these steps are followed for the successfully and the setup is completed, you can move your existing pictures and videos to the locked folder by tapping the Move items option. This will show you all the media content available on your device.
After selecting pictures for moving to the locked photos, you will get the prompt with a message highlighting that the items moved will no longer be backed up and shared and will not appear in your Google Photos grid, search, and more apps. You can proceed with your selection by hitting.
It is worth pointing out that the pictures you hide in the locked folder will not be backed up and shared via Google Photos. The people who have access to unlock your device's screen can unlock the locked folder on the app and view the hidden media files.
Once you have added your media to the locked folder, the files will no longer be visible along with your other pictures. They will also not be seen in any other gallery application. As a safety feature, pictures and videos added to the locked folder will also not show up in an album and photo-book and will also not be visible on Google’s smart displays such as the Nest Hub. To find the pictures and videos you put inside, you will have to open Google Photos and navigate to the Utilities section to find the Locked Folder.
Lorem ipsum viverra feugiat. Pellen tesque libero ut justo, ultrices in ligula. Semper at. Lorem ipsum dolor sit amet elit. Non quae, fugiat nihil ad. Lorem ipsum dolor sit amet. Lorem ipsum init dolor sit, amet elit. Dolor ipsum non velit, culpa! elit ut et.
Lorem ipsum dolor sit amet elit. Velit beatae rem ullam dolore nisi esse quasi, sit amet. Lorem ipsum dolor sit amet elit.